
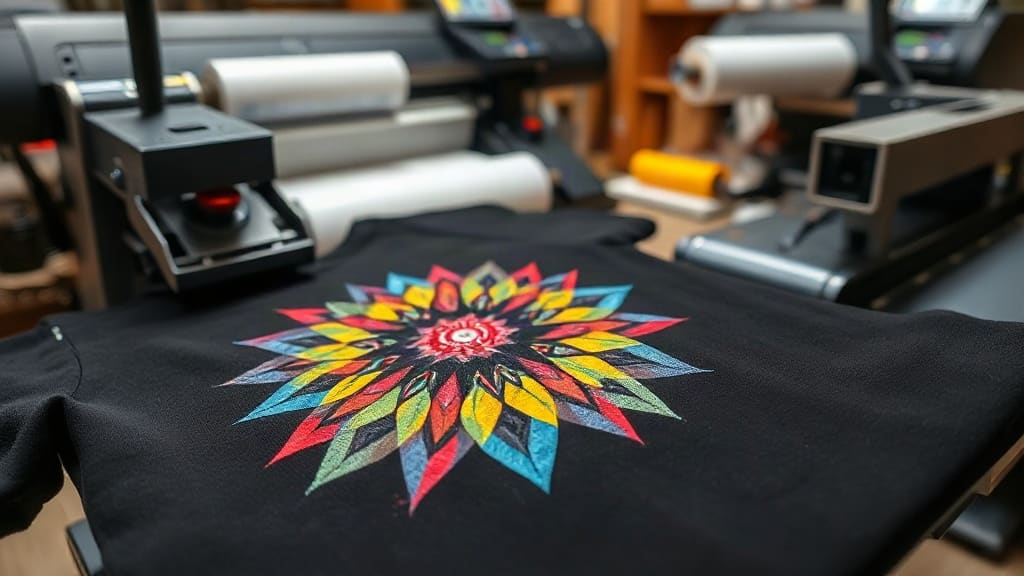
If you’ve been exploring custom apparel decoration, you’ve probably heard about DTF printing. It’s the hot new method that’s taking the industry by storm. But what exactly is it, and how does it work? In this comprehensive guide, I’ll break down everything you need to know about DTF printing, from the technology behind it to practical tips for getting started. Whether you’re a small business owner, a hobbyist, or just curious about the process, this article will give you a clear picture of why DTF is a game-changer.
What Is DTF Printing?
DTF stands for Direct to Film. It’s a printing method where a design is printed onto a special film, then transferred to a fabric using heat and pressure. Unlike direct-to-garment (DTG) printing, which prints directly onto the shirt, DTF prints onto a film first. This film is then applied to the garment with a heat press. The result is a vibrant, durable print that feels soft and can be applied to a wider range of materials.
The process might sound complex, but it’s actually straightforward once you get the hang of it. In this article, I’ll guide you through each step, the equipment you need, and the pros and cons of this popular printing technique.
How Does DTF Printing Work?
Understanding the mechanics of DTF printing helps you appreciate its versatility. Here’s a step-by-step breakdown of the entire process.
Step 1: Create Your Design
First, you need a digital design. You can create one using graphic design software like Adobe Illustrator, Photoshop, or even free tools like Canva. The design should be in high resolution (at least 300 DPI) to ensure crisp prints. Also, remember to mirror your design horizontally before printing because the transfer will reverse it.
Step 2: Print the Design onto Film
Once your design is ready, you print it onto a special DTF film using a printer equipped with pigment inks and white ink. The white ink is crucial because it creates an underbase that makes colors pop on dark garments. Most DTF printers have a white ink circulation system to prevent clogging.
After printing, you need to apply a powdered adhesive to the wet ink. This powder is what allows the film to stick to the fabric during the heat press. The film is then shaken to distribute the powder evenly, and excess powder is removed.
Step 3: Cure the Film
Next, you cure the printed film by heating it. This melts the adhesive powder and bonds it to the ink. You can use a heat press or a dedicated curing oven for this step. The curing temperature and time depend on the powder manufacturer’s instructions, but typically it’s around 160°C (320°F) for a few minutes.
Step 4: Press the Film onto the Garment
Now comes the exciting part: transferring the design to your garment. Place the film on the shirt with the design facing up, and apply heat using a heat press. The recommended temperature is usually around 160°C (320°F) with medium pressure for about 15-20 seconds. After pressing, you can peel the film off either hot or cold, depending on the adhesive type. Hot peeling is quicker, but cold peeling might give a better finish. Experiment to find what works best for you.
Step 5: Post-Press (Optional)
Some printers recommend a post-press step to ensure the print is fully cured and to improve durability. This involves placing a silicone sheet or Teflon over the printed area and pressing it again for a few seconds. This helps set the adhesive and enhances the bond.
Equipment and Materials Needed
To get started with DTF printing, you’ll need the following:
- DTF printer: You can convert a standard inkjet printer (like Epson) with a DTF conversion kit, or invest in a dedicated DTF printer. The latter often comes with a white ink system and is more reliable.
- DTF film: These are PET films specifically designed for DTF printing. They have a coating that holds the ink.
- DTF powder: Hot-melt adhesive powder, available in various micron sizes. Finer powder is for smoother prints, while coarser powder gives a more textured feel.
- Heat press: A standard heat press works fine. You’ll use it for both curing and transferring.
- Ink: Pigment inks, including CMYK and white. Make sure they are compatible with your printer.
- Shaker or powder applicator: This helps apply and spread the powder evenly.
- Silicone sheets or Teflon: To protect your heat press and garment during pressing.
Advantages of DTF Printing
DTF printing offers several benefits that make it a favorite among decorators:
- Versatility: You can print on a wide range of fabrics, including cotton, polyester, blends, nylon, and even leather. This is a big advantage over DTG, which typically works best on 100% cotton.
- Durability: The prints are resistant to cracking, peeling, and fading. The adhesive creates a strong bond that lasts through many washes.
- Soft hand feel: The print doesn’t have a heavy plastic-like texture. It feels smooth and flexible, similar to a screen print but softer.
- Vibrant colors: The white underbase ensures colors appear bright and vivid, even on dark fabrics.
- No pre-treatment: Unlike DTG, you don’t need to pre-treat the garment with chemicals. This saves time and simplifies the process.
- Cost-effective for small runs: There’s no setup cost like screen printing, making it ideal for custom orders and small batches.
Disadvantages and Challenges
While DTF is fantastic, it’s not without its challenges:
- White ink maintenance: The white ink can clog if not used regularly. You need to keep the printer running and perform regular cleanings to avoid issues.
- Learning curve: Getting the perfect temperature, pressure, and time settings takes practice. You’ll need to test and adjust.
- Film and powder waste: You’ll have leftover film edges and excess powder, which can be messy. Proper handling and storage are necessary.
- Speed: For large orders, DTF can be slower than screen printing because each shirt is printed and pressed individually.
DTF vs. Other Printing Methods
To understand why DTF is gaining popularity, it helps to compare it with other common methods:
- DTF vs. DTG: DTG prints directly onto the garment and excels at cotton shirts with high detail. However, it requires pre-treatment, and the prints can fade on dark fabrics if not done correctly. DTF works on more materials and often yields more vibrant colors on dark shirts.
- DTF vs. Screen Printing: Screen printing is unbeatable for large quantities due to its speed and cost per unit. But it requires screens and setup, making it impractical for single custom items. DTF is perfect for one-off or small batch orders.
- DTF vs. Heat Transfer Vinyl (HTV): HTV is great for simple designs with few colors, but it’s not suitable for complex, multi-colored artwork. DTF handles full-color designs effortlessly and gives a softer feel than vinyl.
Tips for Getting Great Results with DTF
Based on my experience, here are some tips to ensure successful DTF prints:
- Use high-quality materials: Invest in reputable brands for film and powder. Cheap materials can lead to poor adhesion and washed-out prints.
- Calibrate your printer: Ensure your printer is correctly configured for the film type. Adjust the print head height and ink density as needed.
- Maintain your white ink: Agitate the white ink cartridges regularly to prevent settling. Run a nozzle check frequently and perform cleanings if you notice banding.
- Test before bulk printing: Always do a test print on the actual fabric you’ll use to fine-tune temperature and time settings.
- Press with even pressure: Make sure the heat press is properly calibrated and apply even pressure to avoid uneven transfer.
- Peel carefully: Whether you peel hot or cold, do it smoothly to avoid smudging or lifting the design.
Common Mistakes to Avoid
Even experienced printers can stumble. Here are pitfalls to watch out for:
- Not mirroring the design: Forgetting to flip the image will result in backward text.
- Using too much powder: Excess powder can cause a thick, plasticky feel and may not adhere properly.
- Incorrect curing: If you don’t cure the powder enough, it won’t stick to the fabric. If you cure too long, it can yellow or become brittle.
- Ignoring fabric composition: While DTF works on many fabrics, some with coatings or water repellents may not bond well. Test first.
Applications of DTF Printing
DTF printing opens up a world of possibilities. You can use it to create:
- Custom t-shirts and hoodies
- Sports jerseys and athletic wear
- Tote bags and backpacks
- Pillows and home decor
- Workwear and uniforms
- And so much more
Because it doesn’t require direct contact with the fabric, you can even print on items with seams or zippers, which is tricky with other methods.
Environmental Considerations
As with any printing process, DTF has environmental impacts. The film is single-use, and excess powder can be wasted. However, compared to screen printing, which uses water and chemicals for screen washing, DTF might be more eco-friendly in some aspects. To minimize waste, you can collect and reuse excess powder, and look for biodegradable film options if they become available. Always dispose of materials responsibly.
Getting Started with DTF
If you’re eager to dive into DTF printing, start small. You can begin with a converted printer and practice on cotton t-shirts. There are many online tutorials and communities where you can learn from others’ experiences. I recommend joining forums or social media groups dedicated to DTF to stay updated on best practices and new products.
In conclusion, DTF printing is a versatile, cost-effective, and exciting technology that’s here to stay. Whether you’re a seasoned professional or a beginner, it offers a fantastic way to create high-quality custom apparel. With the right equipment and a bit of practice, you’ll be producing stunning prints in no time.
Frequently Asked Questions
Can DTF prints withstand multiple washes?
Yes, DTF prints are very durable. When properly cured and pressed, they can withstand dozens of washes without cracking or fading. The key is to follow the manufacturer’s instructions for temperature and time, and to use quality materials. I’ve had shirts that held up beautifully after many washes.
What fabrics are best for DTF printing?
DTF works well on most fabrics, but it’s particularly effective on cotton and cotton blends. It can also handle polyester, nylon, and even leather with the right adhesive. However, fabrics with a high synthetic content might require lower temperatures to avoid melting. Always test on a sample piece first to ensure the best results.
Is DTF printing cost-effective for small business?
Absolutely. DTF printing is highly cost-effective for small businesses because there’s no minimum order quantity. You can print one-off custom items without the setup costs associated with screen printing. The initial investment in equipment might seem high, but with regular orders, you’ll quickly recoup it.
Do I need a special printer for DTF?
You can convert a standard inkjet printer, like the Epson EcoTank, by using a DTF conversion kit. These kits include the necessary parts to handle white ink and film. However, dedicated DTF printers are available that come with a piezo printhead and white ink circulation system, making them more reliable and easier to maintain. If you’re serious about DTF, investing in a dedicated printer is worth it.
How long does the whole DTF process take?
The time depends on your setup and experience. For a single shirt, printing takes a few minutes, curing about 2-3 minutes, and pressing about 20 seconds. So, you can produce a finished shirt in roughly 5-7 minutes, excluding design time. Once you get a rhythm, you can batch process to save time.