
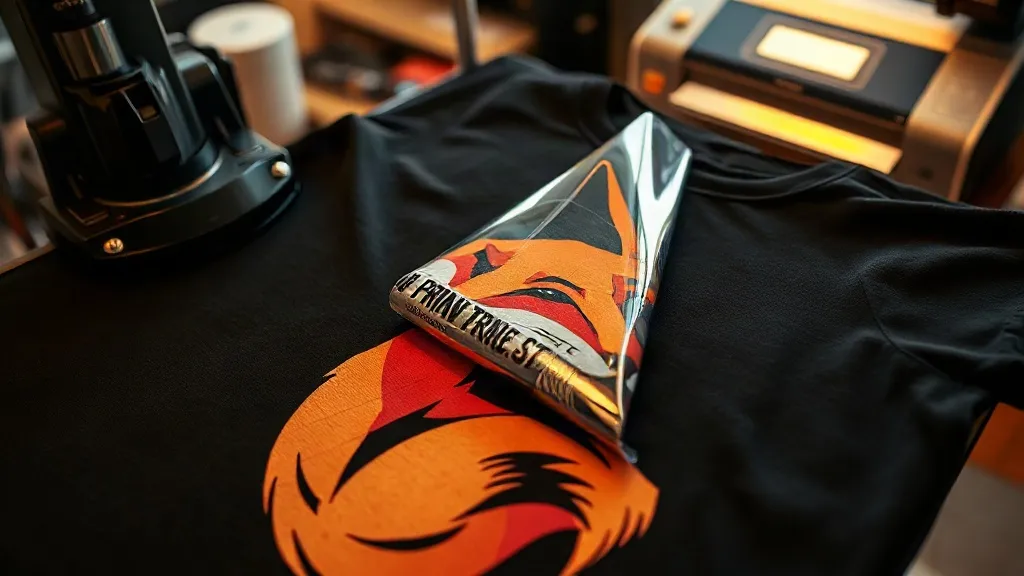
When you first start working with DTF transfers, it's easy to feel like you're wrestling with a process that has a mind of its own. Prints crack, colors look washed out, or the transfer refuses to peel cleanly. The truth is, flawless DTF results aren't about luck or magic settings; they come from understanding a few key principles and applying them consistently. This guide is for anyone who wants to move beyond trial and error and build a reliable workflow, whether you're printing for a small business, a side hustle, or just for fun.
The Core of DTF: How It Actually Works
Before diving into the nitty-gritty, let's clarify what makes DTF different from other decoration methods. DTF stands for Direct to Film. The process involves printing your design onto a special film using pigment-based inks, then applying a hot-melt adhesive powder to the wet ink. Once cured, the film is ready to be heat-pressed onto fabric. The adhesive melts and bonds with the fibers, while the ink layer sits on top, delivering soft, stretchable, and vibrant prints.
What sets DTF apart is its versatility. Unlike DTG, which requires pre-treatment and works best on cotton, DTF adheres to a wide range of materials: cotton, polyester, blends, and even some nylons. It also eliminates the need for weeding, making it a favorite for intricate designs and small batches. But to get the most out of this technology, you need to pay attention to three pillars: design preparation, printing and powdering, and heat application.
Design Preparation: Setting the Stage for Success
Your design file is the blueprint for the entire process. Mistakes here can haunt you through every step. Start with a high-resolution image (300 DPI is a good rule of thumb) and ensure your colors are in RGB mode, as DTF printers use RGB profiles. When exporting, save as a TIFF or PNG with a transparent background so the printer knows exactly where to lay ink.
Color Management and White Ink
One of the most common pitfalls is underestimating the role of white ink. In DTF, white ink acts as a base layer, opacifying the colors and making them pop on dark garments. Your RIP software will handle the white layer generation, but you need to check that it's set correctly. Too little white and colors look dull; too much and the print becomes stiff and plasticky. A good starting point is to have white ink at 100% opacity under the colored areas, but you may need to tweak based on your printer and film.
Mirroring and Sizing
Always mirror your design horizontally before printing. The film is pressed face-down onto the fabric, so the image must be reversed to appear correctly. Also, consider the final size: DTF prints can stretch, so if you're printing on stretchy fabrics, you might want to slightly enlarge the design to account for shrinkage. And don't forget to add a small bleed (around 1-2 mm) to avoid white edges after pressing.
Printing and Powdering: The Heart of the Process
Once your design is ready, it's time to print. Load your DTF film into the printer, ensuring the coated side faces the printhead. Most films have a matte and a glossy side; the matte side is the print side. Run a test print if you're unsure. After printing, while the ink is still wet, apply the hot-melt adhesive powder evenly over the design. Shake off excess powder and then cure the film in an oven or with a heat gun until the powder melts and becomes slightly glossy. This step is critical: undercuring leads to poor adhesion, while overcuring can make the transfer brittle.
Choosing the Right Powder
Not all DTF powders are created equal. Finer powders (around 80-200 microns) are generally better for detailed designs, as they penetrate the ink more evenly and produce a softer hand. Coarser powders are cheaper but can leave a gritty texture. Also, consider the powder's melting point; it should match your curing method. Always store powder in a dry place, as moisture can cause clumping and uneven application.
Common Printing Issues and Fixes
- Bandings or streaks: Usually caused by clogged printheads or misaligned rollers. Run a nozzle check and clean if necessary.
- Ink smudging: If the ink doesn't dry quickly enough, it may smudge during powdering. Check your printer's drying settings or reduce print speed.
- Powder not sticking: Ensure the ink is wet when applying powder; if it's too dry, the powder won't adhere. Also, verify the powder is dry and within its shelf life.
Heat Application: Where the Magic Happens
Pressing the transfer is the moment of truth. Set your heat press to the temperature recommended by your film and powder manufacturer, typically around 300-320°F (150-160°C). Use medium pressure and pre-press the garment for a few seconds to remove moisture. Place the transfer face-down, cover with a protective sheet (like parchment paper or a Teflon sheet), and press for 10-15 seconds. Peel the film while it's still warm for a glossy finish, or let it cool for a matte look. Always follow with a second press using the protective sheet for 5-10 seconds to ensure maximum durability.
Fabrics and Their Quirks
Different fabrics require slight adjustments. Cotton holds DTF well, but pre-washing is essential to remove sizing. Polyester can be tricky because excessive heat can cause the fabric to shrink or the dye to migrate. Use a lower temperature (around 280°F) and press for a shorter time. For blends, find a middle ground. And for stretchy fabrics, consider using a stretch additive in the powder or opting for a lower-temperature powder to maintain flexibility.
Troubleshooting: When Prints Go Wrong
Even with careful preparation, issues can arise. Here are some common problems and how to solve them:
- Peeling or cracking after washing: This usually indicates insufficient pressure, incorrect temperature, or undercured powder. Try increasing pressure, verifying temperature with a heat gun, and ensuring the powder is fully melted.
- Color fading: Often due to too much white ink or over-pressing. Adjust white ink settings and reduce pressing time.
- Adhesive residue on the film: If the film peels off leaving sticky residue, the transfer wasn't pressed long enough or the pressure was too low. Increase dwell time and pressure.
For those who are new to the process, finding reliable dtf transfers near me can be a challenge. Many print shops now offer DTF services, but quality varies. Always ask for samples and check reviews before committing to a large order.
Scaling Up: From One-Offs to Production
Once you've mastered the basics, you might want to increase your output. Consider investing in a dedicated DTF printer with a roll-to-roll system and a powder shaker. Automation reduces manual errors and speeds up production. Also, maintain a log of your settings for different fabrics and designs; this becomes invaluable as you take on more complex projects. And don't forget about storage: keep unused film in a cool, dry place away from direct sunlight to prevent curling and dust buildup.
Frequently Asked Questions
How do I prevent DTF prints from cracking after washing?
Cracking usually stems from insufficient pressure or undercured powder. Make sure your heat press applies even pressure across the entire transfer, and verify that the powder is fully melted during curing. Also, wash garments inside out in cold water and avoid harsh detergents.
Can I use DTF transfers on dark colors without a white base?
No, a white ink base is essential for opacity on dark fabrics. Without it, colors will appear muted or tinted by the garment. Always ensure your RIP software generates a white layer under the colored areas.
What's the best way to store DTF transfers before use?
Store them in a cool, dry place, away from direct sunlight and moisture. Keep them flat or rolled loosely to prevent creases. Avoid stacking heavy objects on top, as this can damage the powder layer.
How long do DTF transfers last?
With proper application and care, DTF prints can last as long as the garment itself. They withstand repeated washing and wearing without significant fading or cracking, provided you follow the correct pressing and washing guidelines.
Is DTF suitable for small home businesses?
Absolutely. DTF is ideal for small businesses because it requires minimal setup compared to other methods, and you can produce one-off designs without minimum order quantities. A desktop DTF printer and a heat press are the main investments.
Mastering DTF transfers is a journey of small improvements. Pay attention to the details, keep notes, and don't be afraid to experiment. With practice, you'll develop a feel for what works, and those flawless prints will become your new normal.