
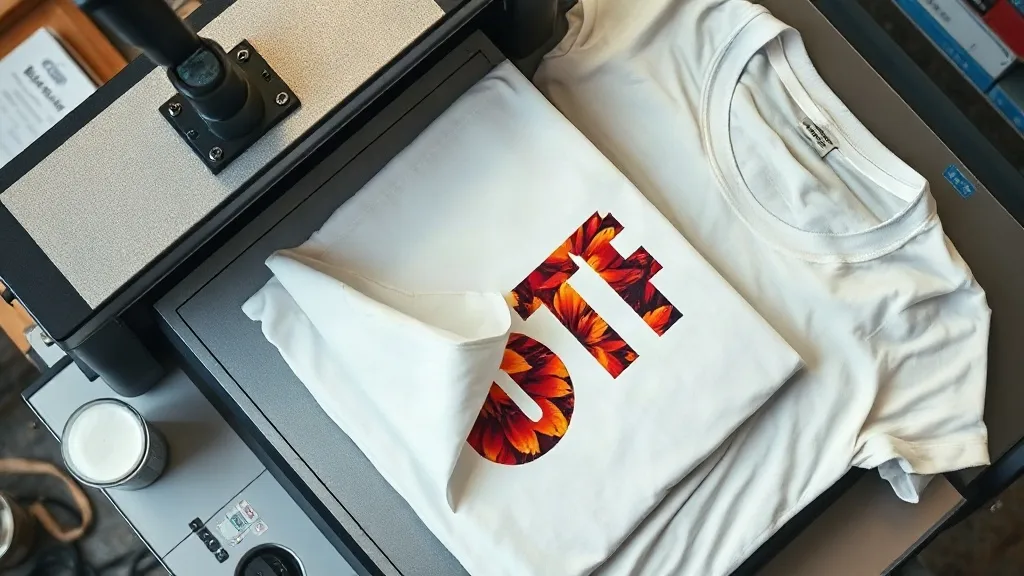
You press a shirt, peel the carrier while it is still warm, and watch a corner lift. Or the color comes out flat compared to the file on your screen. These moments are frustrating, but they are rarely random. In almost every case, a dtf transfers failure traces back to one of a small number of causes: moisture, pressure, temperature, or timing. Once you know which variable slipped, the fix is usually faster than the print itself.
This guide is not another step-by-step beginner walkthrough. It is a troubleshooting map for people who already own a printer and a heat press and are tired of guessing why a batch came out wrong. If you source your film from a supplier like dtf transfers, most of what follows applies directly to your workflow.
Start With the Film, Not the Press
When a print fails, the instinct is to adjust the heat press. Before you touch the temperature dial, look at the film itself. A large share of adhesion and cracking problems begin at the printer, long before the heat press is involved.
Wet powder is the silent culprit
Adhesive powder absorbs moisture from the air. In a humid room, an open bag of powder can pull in enough water to cause incomplete melting, which shows up later as a grainy texture, poor wash durability, or a print that peels in patches. Store powder in a sealed container with a desiccant pack, and if you live in a humid climate, consider a small dehumidifier near your curing station.
A quick test: shake a small amount of powder onto a scrap print and cure it as usual. If the surface looks uneven or chalky rather than glossy and smooth, moisture is likely present.
Ink laydown that is too heavy
More ink does not mean better color. Over-saturated prints crack along fold lines because the cured layer is too thick to flex with the fabric. If you notice cracking on the first wash, reduce your ink limits in the RIP software by 10 to 15 percent and compare. The color will look nearly identical, but the film will feel thinner and behave better on stretchy garments.
Curing temperature drift
Powder needs to melt fully but not scorch. Many shops set the oven or heat gun once and never check again. A cheap infrared thermometer pointed at the film surface during curing will tell you more than any dial. Aim for a consistent melt across the whole sheet, and rotate or reposition if you see hot spots.
Why Prints Fail at the Heat Press
If the film looks good and the print still fails, the press is the next suspect. Four variables matter: temperature, pressure, time, and peel timing. Change one at a time so you can identify which one caused the problem.
Temperature: the most common mistake
Most dtf films apply in the 300 to 320°F range, but the exact number depends on your film and fabric. Cotton tolerates higher heat than polyester blends, which can scorch or develop a shine. If you press polyester at cotton settings, you may get a perfect bond and a ruined garment at the same time. Drop the temperature by 15 to 20 degrees for synthetics and extend the press time slightly to compensate.
Pressure: too little hides, too much shows
Light pressure leaves the adhesive sitting on top of the fabric weave instead of penetrating it. The print looks fine on the press but lifts after a few washes. Heavy pressure, on the other hand, flattens the fabric and can push adhesive into the carrier sheet, which makes peeling difficult and leaves a dull surface. Medium, even pressure is the target. If your press has a pressure gauge, note the setting that works and keep it there.
Peel timing: hot, cold, or warm
Peel timing is where many operators guess. Some films are hot peel, some are cold peel, and some sit in between. Peeling a cold-peel film while hot can stretch the design and distort fine detail. Peeling a hot-peel film after it cools can cause the adhesive to bond to the carrier instead of the shirt. Check your film's spec sheet, then test a small sample at each timing so you know what correct feels like.
Repressing after peel
A short second press with a cover sheet, often called a post-press, improves wash durability and smooths the surface texture. Ten to fifteen seconds at the same temperature is usually enough. Skip this step and you may notice a slightly rubbery feel that never quite settles into the fabric.
Fabric and Color Problems You Can Predict
Some failures are not really failures. They are mismatches between the design and the garment, and they can be anticipated before you print.
- Dark shirts and thin designs: a light-colored design on a dark garment needs an opaque white underbase. If your white layer is too thin, the shirt color will tint the print and make it look muddy.
- Stretch fabrics: spandex and high-stretch blends need lower ink laydown and careful pressing to avoid cracking at the seams.
- Textured fabrics: ribbed knits and coarse weaves can leave pinholes where the adhesive cannot reach the surface. A slightly longer press with firmer pressure helps, but some textures simply need a different decoration method.
- Waterproof or coated fabrics: these often resist adhesive entirely. Test a hidden area before committing to a full run.
Shipping, Storage, and the Question of Local Sourcing
If you buy pre-printed film rather than printing in-house, storage and shipping conditions matter as much as your press settings. Film that sat in a hot delivery truck or a damp warehouse can arrive with issues you did not cause. Check incoming orders for wavy edges, curled corners, or a tacky feel before you press them.
Many shops searching for dtf transfers near me are really looking for faster turnaround and fresher stock, both of which reduce the odds of receiving compromised film. A local or regional supplier shortens transit time and makes it easier to raise a problem before a whole order is wasted. If you must order from further away, open the package immediately and inspect before storing.
Store film flat, away from direct sunlight, and keep it in its original packaging until use. Heat and humidity are the two forces working against you, and both are easy to control with a shelf and a closed box.
A Simple Diagnostic Routine
When something goes wrong, resist the urge to change everything at once. Run this sequence instead:
- Inspect the film for moisture, uneven powder, or heavy ink before pressing.
- Press a test swatch on the same fabric you plan to use, not a scrap of something else.
- Record temperature, pressure, time, and peel timing for that test.
- Wash the swatch once, inside out, and check for lifting or cracking.
- Adjust exactly one variable and repeat.
After a few cycles you will have a written record of what works for your press, your film, and your most common garments. That record is worth more than any generic settings chart, because it reflects your actual conditions.
Frequently Asked Questions
Why does my DTF print crack after the first wash?
Cracking almost always points to too much ink or incomplete curing. A thick cured layer cannot flex with the fabric, so it splits along fold lines. Reduce ink laydown in your RIP settings and verify that the powder has fully melted before the film cools.
Can I use DTF on 100 percent polyester without scorching it?
Yes, but lower the temperature by roughly 15 to 20 degrees compared to cotton and extend the press time slightly. Test on a hidden seam first, since some polyesters are more heat-sensitive than others.
How do I know if my adhesive powder has absorbed moisture?
Cured powder that looks chalky, grainy, or uneven instead of glossy is a strong sign of moisture. Store powder sealed with a desiccant and test a small batch if you suspect a problem.
Should I peel my transfer hot or cold?
It depends entirely on the film. Check the spec sheet from your supplier, then test both timings on a scrap piece so you can recognize a correct peel by feel.
Is it better to buy pre-printed transfers or print my own?
Pre-printed film suits shops with low or occasional volume and no interest in maintaining a printer. Printing in-house gives you control over ink laydown and curing, which helps when troubleshooting, but adds equipment and maintenance costs.